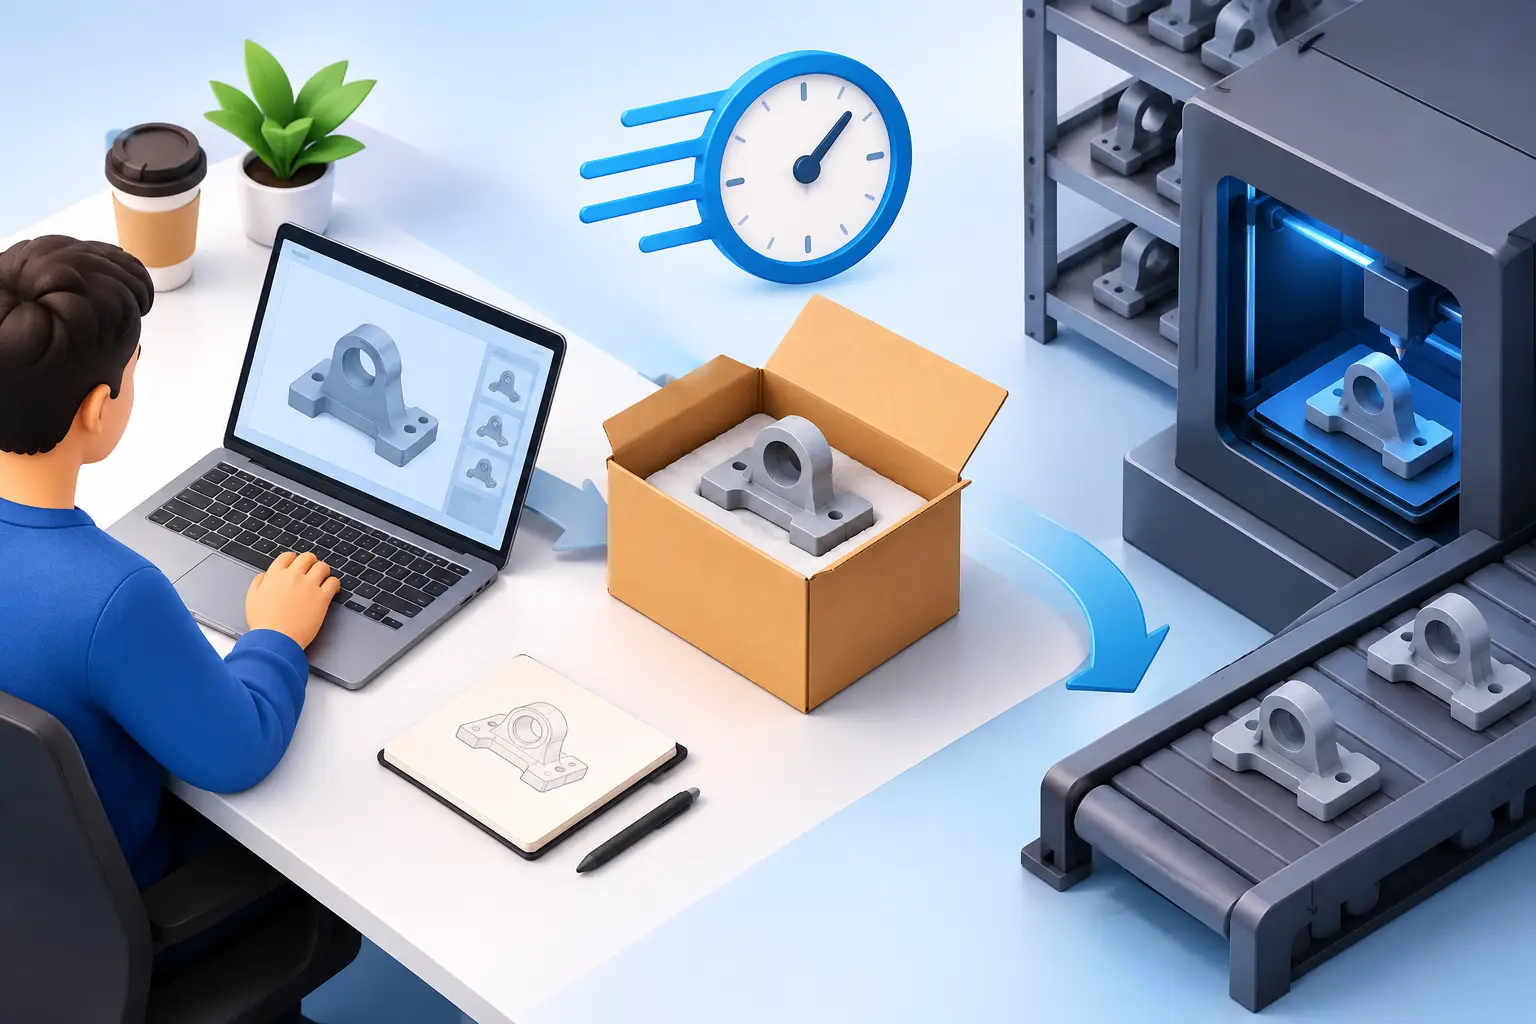
A prototype order can fail long before a machine starts printing. A missing tolerance, an unclear material choice, or a model that has not been checked for wall thickness can create avoidable revisions. Knowing how to order prototypes means turning a design intent into a complete, production-ready request that a manufacturing provider can quote, build, inspect, and ship with minimal back-and-forth.
For a one-off fit check, the process may be simple. For a functional assembly, customer demonstration unit, or pre-production test part, the order needs more control. The goal is not simply to upload a file. It is to specify what the part must do, what it must look like, and when it must arrive.
Start with the prototype decision
Before selecting a printing technology or material, define the question the prototype must answer. A form model confirms appearance, scale, and ergonomics. A fit prototype checks clearances, mounting points, and assembly sequence. A functional prototype tests strength, heat resistance, flexibility, or repeated use.
This decision determines the appropriate material, finish, orientation, and level of inspection. It also prevents a common mistake: ordering a cosmetic material for a mechanical test, or paying for high-detail finishing when the only requirement is confirming internal fit.
Record the key requirement in plain language. For example: “Confirm that the enclosure clips engage after 50 assembly cycles,” or “Present a smooth black housing for a customer review.” A production team can use this information to identify risks that are not visible in the CAD file alone.
Prepare files before you order prototypes
A printable model should be complete, current, and exported at the right resolution. STL files are widely used for 3D printing, while STEP or other native solid-model formats can be useful when geometry needs review. For assemblies, provide separate files for each component unless the parts are intentionally designed as a single printed unit.
Check the model for non-manifold edges, inverted normals, open surfaces, intersecting bodies, and extremely thin features. These issues can cause quoting errors, unpredictable surfaces, or a part that cannot be produced as intended. The export unit also matters. A model created in millimetres but interpreted in inches will not produce a useful prototype.
Include a revision identifier in the file name. A practical convention is project name, part number, revision, and date. This is particularly helpful when several people are involved in design approval or purchasing. It reduces the chance that an obsolete version enters production.
For assemblies, state which dimensions are critical. A printed part does not behave exactly like a machined component, and tolerances depend on geometry, technology, material, part orientation, and post-processing. If a shaft, insert, lid, or mating component must fit, identify the relevant interface rather than assuming every feature requires the same precision.
Select material by function, not colour
Colour is useful for identification, presentation, and customer-facing models. It should not be the first material-selection criterion. Begin with the operating requirement: stiffness, impact resistance, temperature exposure, chemical contact, flexibility, detail resolution, or surface appearance.
A rigid plastic may work well for an enclosure and poorly for a living hinge. A flexible material can validate a grip or gasket concept but may not reproduce the behaviour of the final production elastomer. Similarly, a high-detail resin may produce a refined visual model but may not be the best choice for a component exposed to impact or sunlight.
When comparing options, consider four connected factors:
- Mechanical behaviour, including stiffness, toughness, flexibility, and wear resistance.
- Environmental exposure, such as heat, moisture, UV light, cleaning agents, or outdoor use.
- Feature requirements, including fine text, small holes, thin walls, and internal channels.
- Finishing needs, such as support removal, sanding, painting, dyeing, or threaded inserts.
If the prototype is meant to represent a final production material, say so. An exact match may not be available through additive manufacturing, but the production team can often recommend an option that tests the property most relevant to the current design stage.
Specify tolerances, finishes, and post-processing
A prototype order should distinguish between general dimensions and critical dimensions. General tolerance is appropriate for features that do not affect function. Critical tolerance should be reserved for interfaces where fit, alignment, sealing, or motion depends on a defined result.
Avoid applying tight tolerances everywhere unless they are genuinely required. Tighter requirements can affect technology selection, orientation, finishing, inspection time, and cost. In some cases, it is more efficient to print a part with allowance and machine a critical surface afterward. In others, a design adjustment such as a larger clearance or thicker wall is the better solution.
Post-processing should be specified as part of the requirement, not treated as an afterthought. Support marks, layer texture, and build orientation can affect both appearance and fit. State whether the part needs basic cleanup, a smooth presentation surface, paint-ready preparation, threaded inserts, or another defined finish.
If certification, material documentation, or a particular inspection record is required, include it at the order stage. These requirements can affect the production route and should be visible before work begins.
Build a complete order request
The fastest path through a prototype workflow is a request that gives production and purchasing teams the same information. Upload the correct files, select available material and colour combinations, set quantities, choose relevant post-processing, and add notes for critical requirements.
A clear order note identifies the part purpose, revision, functional surfaces, required finish, and requested delivery date. It can also state whether substitutions are acceptable. For example, a team may allow a similar colour for an internal test part but require approval before any material change on a customer demonstration model.
Do not rely on a screenshot as the only source of dimensional intent. Images help explain orientation, assembly context, and cosmetic expectations, but the CAD file and written specifications should control the build.
For repeat jobs, keep the approved configuration consistent. Print3Dcanada provides centralized account access for managing specifications, orders, invoices, and production status, which is useful when a design team and a purchasing contact both need visibility. A documented order history also makes it easier to compare revisions and reorder validated parts.
Review price and lead time as one decision
Prototype cost is influenced by more than part volume. Material, machine time, build orientation, quantity, support requirements, finishing, inspection, and shipping can all affect the final charge. A lower unit price may come with a longer production window, while an expedited request may limit material or finishing options.
Review the order estimate against the prototype objective. If the goal is early geometry validation, consider ordering a lower-cost version before committing to premium finishing. If the part will be photographed, presented to stakeholders, or used in a customer evaluation, the additional finishing time may be justified.
Delivery planning matters especially when the prototype supports a scheduled design review, trade event, or field test. Allow time for file review, production, post-processing, quality checks, and shipping within Canada. A requested date is useful, but it should be paired with enough lead time to resolve design questions without forcing a rushed decision.
Track the job and inspect the result
Once the order is submitted, use order tracking to confirm its status through production and delivery. Tracking is not only administrative. It gives the project team a practical point to coordinate assembly work, testing, and stakeholder review around the expected arrival date.
When the part arrives, inspect it against the original prototype question. Check critical dimensions, mating features, surface condition, colour, and any inserts or post-processing requirements. Test the part in the real assembly whenever possible. A bench measurement is useful, but it may not reveal interference, load paths, cable routing, or user-handling issues.
Document what changed between the CAD expectation and the physical result. If the next revision needs a larger clearance, a different material, or a revised support strategy, add that learning to the next order rather than leaving it in informal conversation.
A well-ordered prototype is a controlled decision point, not just a printed object. Give the production request enough context to make the trade-offs visible, then use the delivered part to reduce uncertainty before the next design or purchasing commitment.