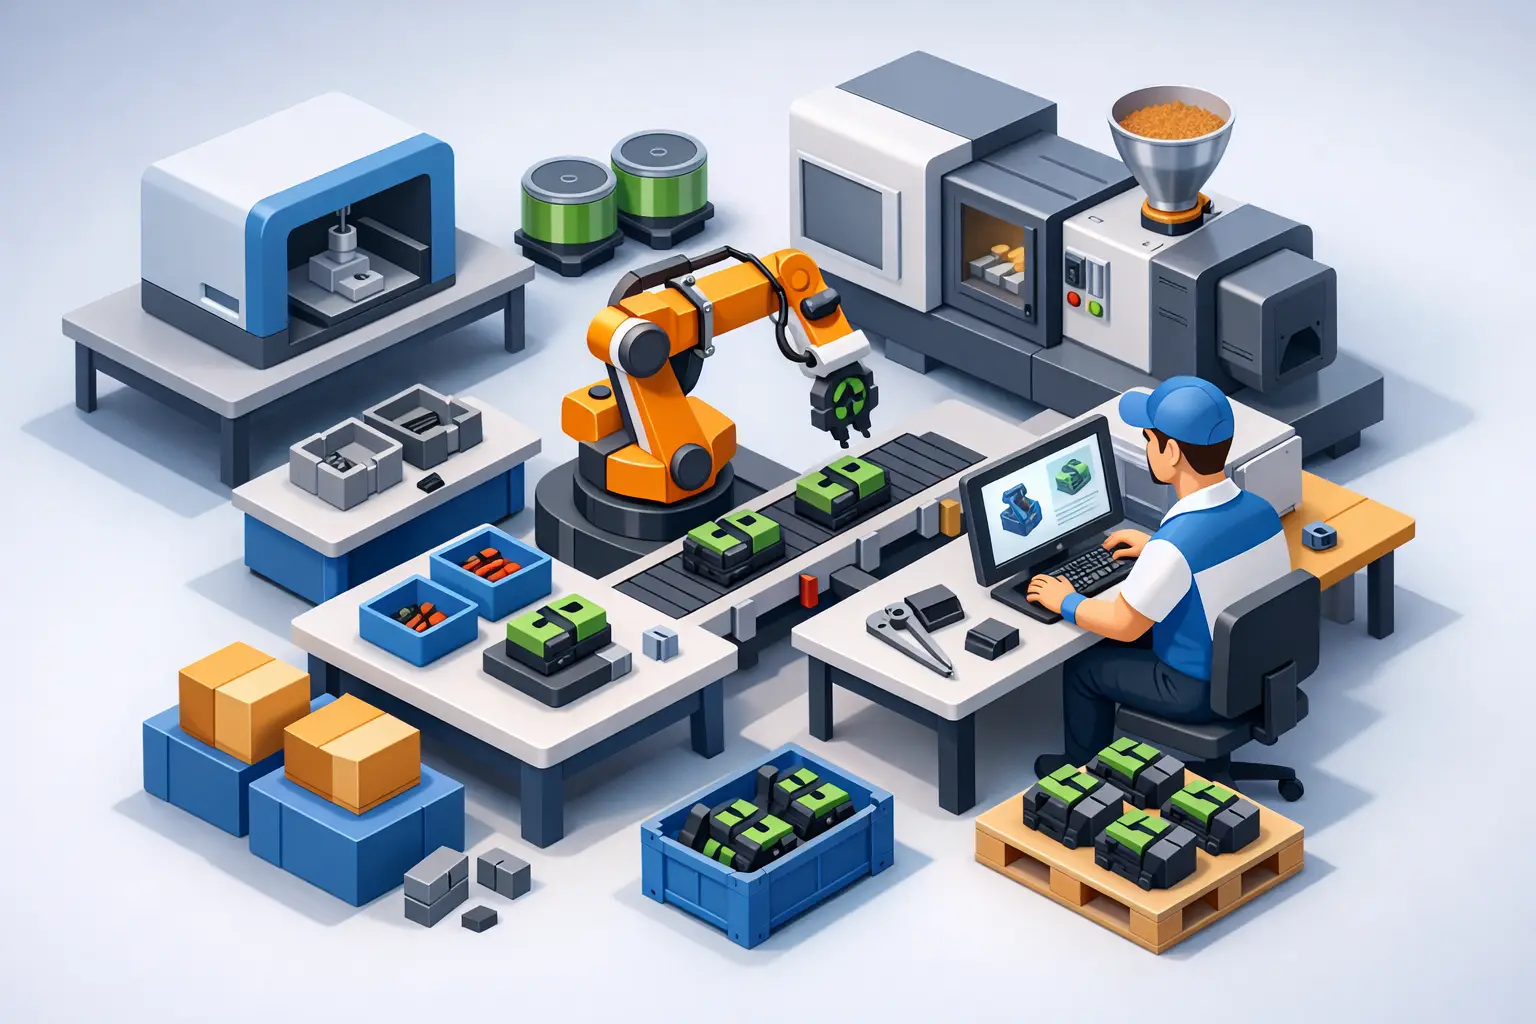
A product team needs 120 custom sensor enclosures for a field trial. The housing must fit an existing circuit board, protect a cable entry point, carry a serial label, and arrive in two scheduled shipments. This low volume manufacturing example is where additive manufacturing can provide more control than a one-off prototype and less commitment than injection mould tooling.
The objective is not simply to print 120 parts. It is to establish a repeatable production job: a confirmed file revision, defined material and colour, documented finishing requirements, an acceptance standard, and a delivery plan that the team can track.
Where low-volume manufacturing fits
Low-volume manufacturing generally covers quantities that are too high to manage as isolated prototypes but too low, uncertain, or changeable to justify dedicated tooling. The actual threshold depends on the part geometry, material, process, tooling cost, and expected repeat demand. For a simple moulded component, tooling may become economical sooner. For a complex enclosure, fixture, bracket, or replacement part, additive manufacturing can remain practical over a much broader quantity range.
This production range is useful when a design is still being validated in the field, when demand is regional or intermittent, or when several versions of a product must be available at once. It also supports bridge production while a company evaluates whether a higher-volume process is warranted.
The trade-off is clear. Additive manufacturing avoids much of the up-front tooling commitment, but unit cost does not fall as sharply as it does with a mature moulding programme. Lead time, surface finish, tolerances, and material properties must be matched to the function of the part rather than assumed from a prototype sample.
Low volume manufacturing example: 120 sensor enclosures
Consider an engineering team producing 120 enclosures for environmental monitoring units. Fifty units are required for an initial Canadian field deployment, with the remaining 70 held for installation partners and replacement stock. The enclosure is a two-piece design with screw bosses, a gasket channel, mounting tabs, and a recessed area for identification.
The team has already tested a handful of prototypes. The next order has different requirements. Every enclosure needs the same fit, the mounting tabs must survive installation, the cable opening needs controlled dimensions, and the exterior must look consistent enough for customer-facing equipment. The team also needs invoices, order records, and a clear production status for purchasing and project management.
That changes the job from prototyping to controlled low-volume production. The team should treat the first production order as the baseline for repeat orders, not as a large batch of unrelated prints.
Start with a production-ready file
The CAD file should represent the approved revision, with the revision number included in the file name or order notes. The team should confirm wall thickness, fastener clearances, mating surfaces, drainage or venting requirements, and the orientation of any visible surfaces before production begins.
For this enclosure, the gasket channel and screw bosses require particular attention. A channel that works in a single prototype may still need adjustment if dimensional variation affects sealing. Screw bosses need enough material around them to resist splitting during assembly. If the design uses threaded inserts, the insert type and installation method should be defined before the batch is released.
Part orientation also matters. It can affect surface appearance, support marks, strength direction, and the accuracy of critical features. A production provider should have enough information to identify which surfaces are cosmetic, which dimensions are functional, and where minor post-processing marks are acceptable.
Select material for the use case, not the sample
Material selection should begin with the operating environment. If the monitoring units will be used outdoors, the enclosure may need UV resistance, moisture tolerance, and sufficient impact performance in variable temperatures. If the enclosure sits indoors near electronic equipment, flame behaviour, stiffness, and appearance may matter more than weathering.
A nylon-based material may suit a durable functional housing, particularly where impact resistance and complex geometry are priorities. A rigid resin can provide fine detail and a smoother initial finish, but it may not be the right choice for repeated outdoor handling. A filament-based process can be appropriate for certain enclosure designs, especially where fast iteration and lower initial cost are more valuable than uniform surface texture.
There is no default best material. The correct choice depends on loading, environmental exposure, fit requirements, visual expectations, and the production technology available. If the customer expects a black enclosure, colour should also be specified as a controlled order input, not left as an informal preference. Different materials and technologies can produce different black tones and surface textures.
Define the production controls
A repeatable order needs more than a quantity and an STL file. For the 120 enclosures, the production record should state the required material, colour, technology, post-processing option, orientation preference where relevant, and the exact components included in each unit.
The order should also identify critical dimensions. For example, the team may require the circuit board cavity and cable opening to be checked against stated dimensions, while minor variation on external non-mating surfaces is acceptable. This focuses inspection effort on the features that affect assembly and avoids treating every surface as if it carries the same risk.
If certification, material documentation, or a defined quality record is required by the project, that requirement should be established before the order is placed. It can affect process selection, pricing, and lead time. The same applies to packaging needs, such as keeping each enclosure set together or separating the first shipment by installation site.
Plan finishing around function
Post-processing should solve a defined need. Support removal may be enough for an internal fixture. A customer-facing enclosure may require smoothing, dyeing, bead blasting, painting, insert installation, or label preparation. Each added operation can improve usability or appearance, but it also introduces cost, handling time, and another point to verify.
For this example, the team chooses a consistent black finish, cleaned mating surfaces, and installed threaded inserts. They do not request cosmetic finishing on the concealed interior because it adds cost without improving field performance. This is a practical distinction: specifications should protect the intended result, not create unnecessary process work.
Build the order around delivery and traceability
Instead of requesting all 120 units in a single undifferentiated shipment, the team schedules 50 complete enclosure sets first and 70 afterward. The first shipment supports field installation and provides a controlled checkpoint before the balance is deployed. If an assembly issue appears, the team can assess whether the remaining units need a revision or a packaging adjustment.
That does not mean every production order should be split. A single shipment may be more efficient when the design is fully established and storage is available. Split fulfilment is most useful when installation dates are staged, cash flow matters, or early field feedback has value.
A digital order-management workflow supports this control. Users can retain account access, select production options, review charges, track order status, and keep invoices associated with the job. For teams, this reduces the risk of material choices, file revisions, or delivery instructions being lost across email threads.
Print3Dcanada is structured for this type of workflow, with configurable order inputs and status visibility that help connect a part specification to its production and fulfilment record.
Know when additive manufacturing stops being the best fit
The 120-enclosure order may be successful, but success does not automatically mean the same process should be used forever. If demand grows to several thousand identical units, the team should compare the continuing unit cost, required tolerances, appearance standards, and lead-time needs against moulding or another production method.
The design may also need to change before scaling. Injection moulding can require draft angles, more uniform wall thickness, different fastening features, and revised internal geometry. Low-volume additive production can provide valuable field data before those decisions are locked into tooling.
For replacement parts, service fixtures, specialized accessories, and products with variable demand, additive manufacturing may remain the preferred option even after the main product enters higher-volume production. The decision is based on total operational cost, not quantity alone.
A well-managed low-volume order creates more than a set of parts. It gives the team a documented production baseline they can repeat, adjust, or use to make the next manufacturing decision with better evidence.