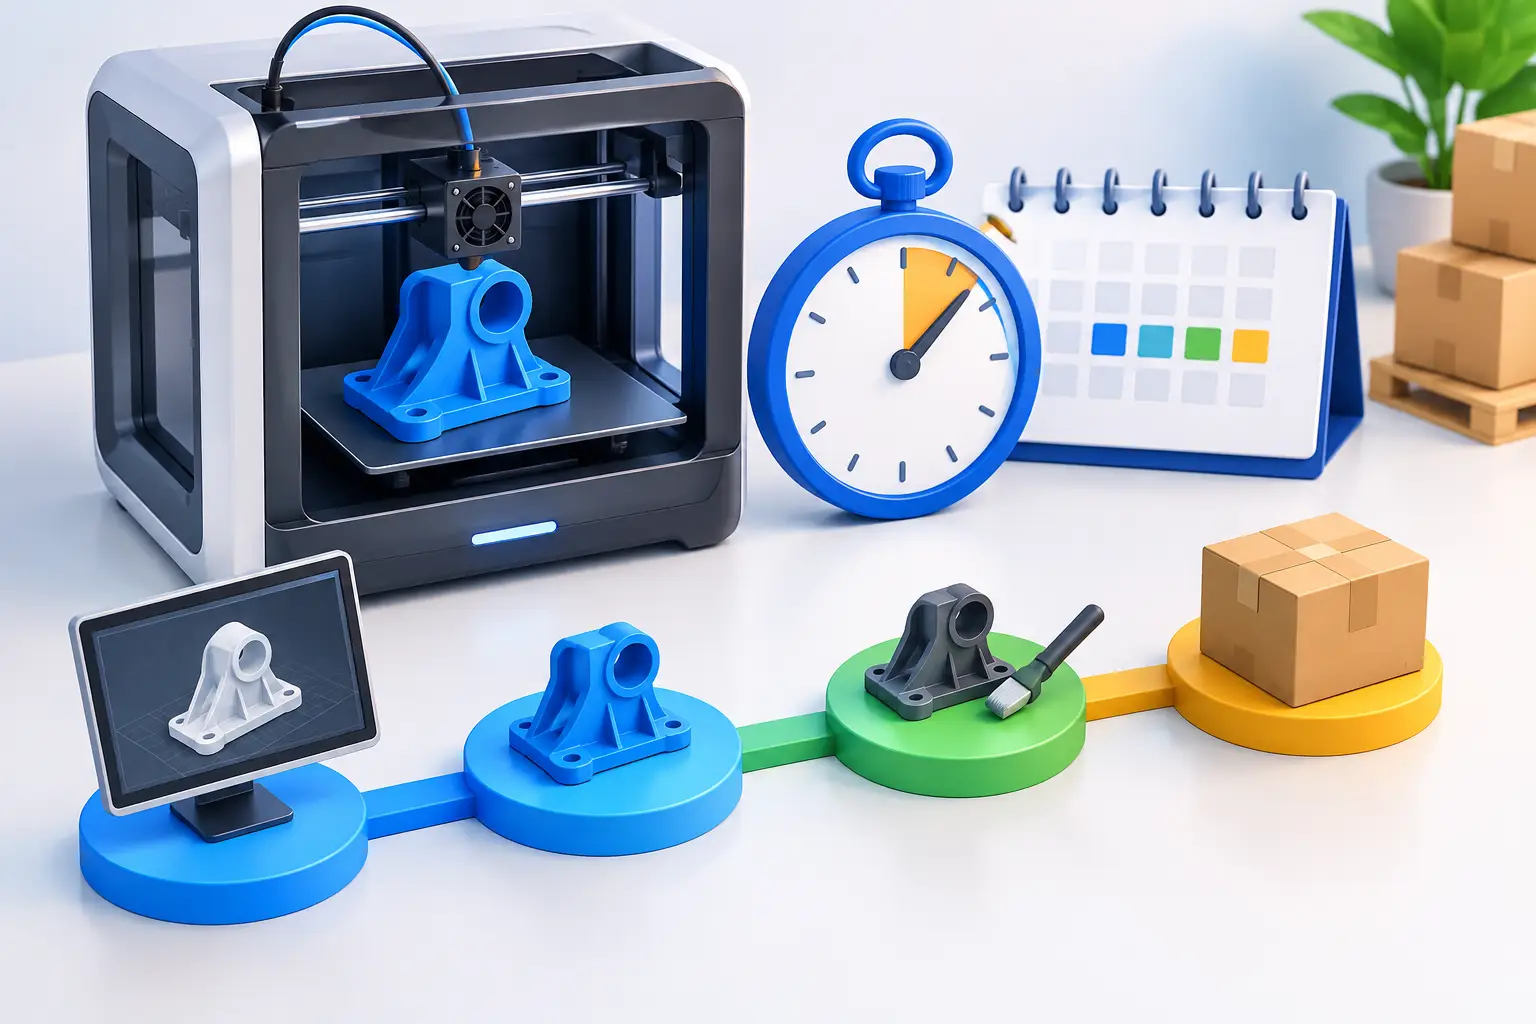
A part can be ready to print in minutes and still require several production days before it is ready to ship. Production lead times are not determined by print duration alone. For custom 3D-printed parts, the full timeline includes file review, material allocation, machine scheduling, printing, cooling or curing, post-processing, quality checks, packing, and delivery.
For product teams, purchasing stakeholders, and individual customers, the useful question is not simply, “How fast can this print?” It is, “What has to happen before this part can be released for delivery?” A clear answer starts with separating production time from the complete order timeline.
What production lead times include
A production lead time is the period required to prepare and manufacture an order after its specifications are confirmed. In additive manufacturing, that starts when the part file, material, colour, quantity, finishing requirements, and commercial details are sufficiently clear to move the job into the production workflow.
The production portion usually includes file preparation and build planning, machine queue time, the print cycle, removal from the machine, and required finishing or inspection. Depending on the technology and material, a part may also need washing, UV curing, support removal, depowdering, sanding, dyeing, painting, heat treatment, or other post-processing before it can be packed.
Shipping is related to the order timeline, but it is not the same as production lead time. A part that leaves production on schedule may still have a delivery date affected by carrier service level, destination, weather, remote-area routing, or a missed delivery attempt. When planning a deadline, allow time for both manufacturing and transport.
Why production lead times vary by order
Custom manufacturing does not operate like picking identical inventory from a shelf. Every order places a different demand on machines, materials, labour, and inspection capacity. Two parts of similar size can have very different lead times if one requires basic cleaning and the other requires a specific finish or documented certification.
Material and technology selection
The selected material and printing technology influence the entire production route. Resin parts may require washing and curing. Powder-based parts require controlled removal and cleaning after the build. Thermoplastic parts may need support removal, surface preparation, or additional handling depending on their geometry.
Material availability also matters. Common options may be ready for scheduled use, while a specialized polymer, colour, or engineering-grade material may require allocation or replenishment. Selecting a material should be based on the part's functional needs first, but timing is a practical factor when a deadline is fixed.
Machine capacity and build scheduling
A 3D printer produces parts in builds, not always one job at a time. A small component may take little machine time on its own, but it still needs to be scheduled into an appropriate build alongside compatible jobs. The most efficient production plan considers material, technology, part orientation, build volume, and finishing requirements.
Queue time can therefore be more significant than the print cycle itself. During periods of high demand, machine capacity is assigned across active orders. Larger quantities, full build volumes, or parts that require a specific machine may need more scheduling coordination than a single prototype.
Geometry, quantity, and file readiness
Part geometry affects how a job is prepared and processed. Thin walls, enclosed cavities, complex internal channels, large flat surfaces, and fine features can affect orientation, supports, cleaning, and inspection. These features do not automatically prevent production, but they can add preparation or post-processing work.
Quantity changes the calculation as well. Printing ten parts is not always ten times the lead time of printing one part, especially where several units can share a build. However, larger orders require enough machine volume, materials, finishing capacity, and inspection time to process the full quantity consistently.
A ready-to-manufacture file helps keep the order moving. Files with unclear scale, non-manifold geometry, extremely thin features, or incomplete specifications may require clarification before production can begin. Confirming requirements early is often more valuable than trying to recover time after the job reaches the queue.
Post-processing, certification, and inspection
Post-processing is commonly the least visible part of a 3D printing schedule. It is also one of the most variable. A standard finish may involve a defined sequence of cleaning and support removal. A cosmetic surface requirement, a colour treatment, threaded inserts, assembly, or a certification requirement can introduce additional production stages.
Inspection requirements should be matched to the function of the part. A visual prototype, a fit-check component, and a production-use part do not necessarily need the same documentation or review process. Where certification or specific records are required, include them in the order requirements rather than treating them as a last-minute addition.
How to plan an order around a required date
Start with the date the part must be available at its final destination, not the date it should leave production. Work backward through shipping, packing, finishing, printing, queue time, and any approval period on your side. This creates a practical requested order date rather than an optimistic one.
For a prototype used in an internal design review, the schedule may have some flexibility. For a part needed for a field installation, customer demonstration, or manufacturing trial, build in a larger buffer. The cost of waiting for a late part can exceed the cost of selecting a more available material, simplifying a finish, or splitting a project into stages.
Where possible, separate urgent prototype needs from later production requirements. A team may order a small number of functional units for validation first, then release the larger quantity once dimensions, fit, and material performance are confirmed. This approach avoids committing a full order before the design is stable, although it may not be the lowest-cost route per part.
Use clear order specifications from the beginning. Identify the required material, colour, quantity, finish, intended use, and delivery expectation. If your team has a purchase order process, approval path, or invoice requirement, account for that administrative time as well. Production cannot be planned effectively around details that are still changing.
Managing changes without losing control of the schedule
Design changes are normal in additive manufacturing, particularly during prototyping. The operational issue is not whether a change occurs, but when it occurs. A revised file submitted before production is scheduled may have limited timing impact. A revision requested after printing, finishing, or packing can require a new production path.
Keep version control simple and visible. Name files clearly, identify the approved revision, and avoid sending several possible versions without stating which one should be produced. For collaborative teams, designate one person to confirm final specifications and communicate changes through the order record.
It is also useful to distinguish a manufacturing change from a delivery preference. Updating a shipping address or carrier service may affect fulfilment, while changing material, colour, quantity, dimensions, or finishing requirements can affect the production lead time itself. Treat these as different decisions so the impact is clear.
Using order status to manage production expectations
Order tracking is most useful when it supports action. A status should help customers understand whether an order is awaiting confirmation, in production, undergoing finishing, ready to ship, or already in transit. It should not be treated as a substitute for planning a critical deadline at the last moment.
For repeat work, retain the order specifications that produced an acceptable result. This gives teams a reliable reference for material, colour, finish, quantity, and commercial details when a similar requirement returns. Consistent inputs make lead times easier to estimate because the production route is already understood.
At Print3Dcanada, centralized order management helps keep the technical and administrative sides of a custom print job together. Material selection, production options, charges, invoices, payment records, and order status all affect how an order moves from configuration to fulfilment.
Set the timeline before the part becomes urgent
The fastest route is not always the right route. A short lead time may be appropriate for a simple prototype with a flexible finish, while a functional part with specialized material, finishing, or documentation needs more planned time. The right schedule depends on the part's purpose, not just its dimensions.
Provide complete specifications early, leave room for shipping, and review order status before a deadline becomes critical. That gives the production team the information needed to schedule the work properly and gives your team a more dependable basis for design, purchasing, and delivery decisions.